The Treatment of Chicks and Oyster
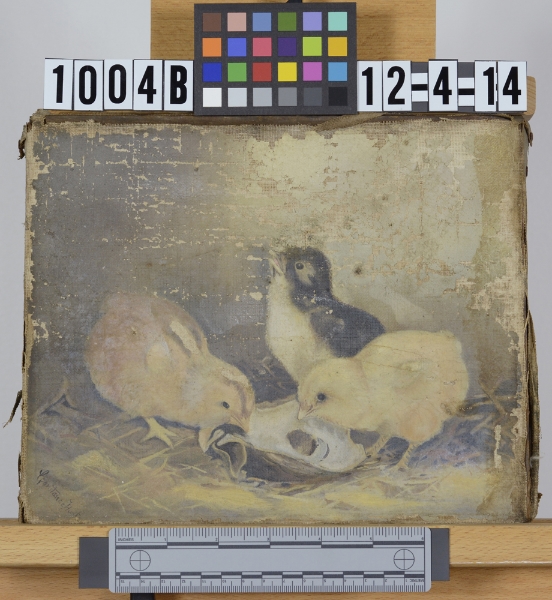
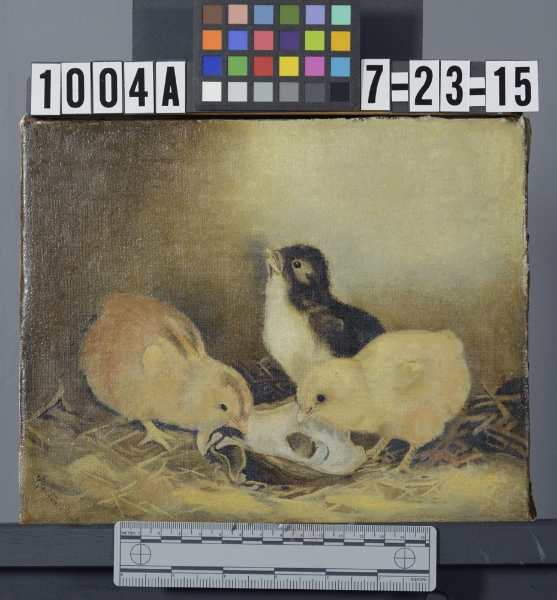
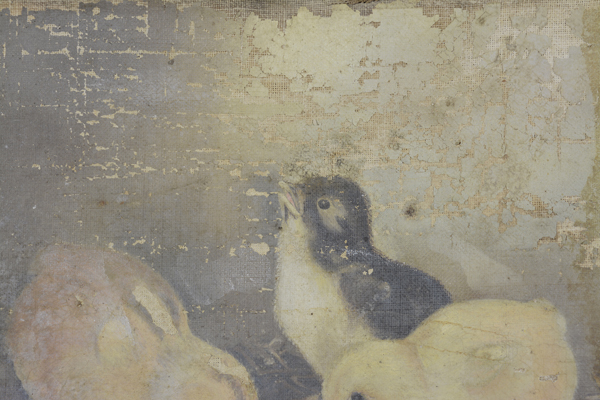
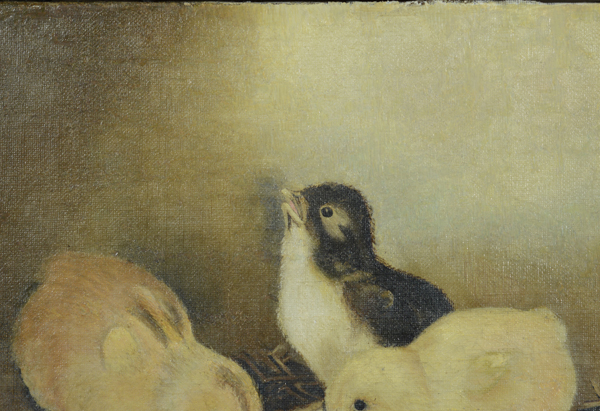
After a lengthy treatment, the conservation of Chicks and Oyster is finally complete. The process and result of the treatment was extremely satisfying and serves to illustrate the time consuming and more tedious aspects of what conservators do.
The painting exhibited extreme flaking and was initially very difficult to handle. While the active flakes and the multitude of losses were visible and accessible, there were many areas of instability known as "blind cleavage" that needed to be addressed before the conservation could continue. The visibly flaking areas were first consolidated from the front and eased back into position. This image illustrates relaxing of the lifting flakes with locally applied mild heat.
During local application of heat, through silicone coated Mylar, to relax and re-adhere the flaking paint layer.
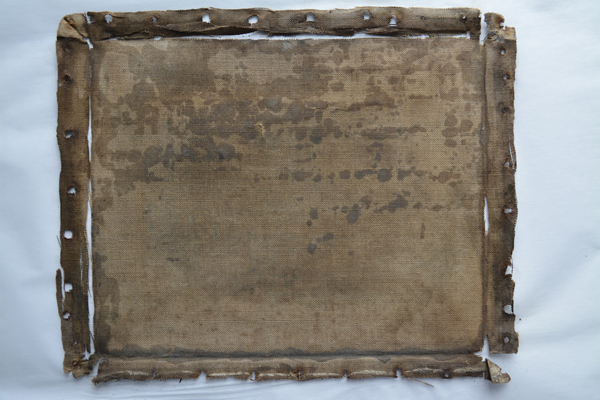
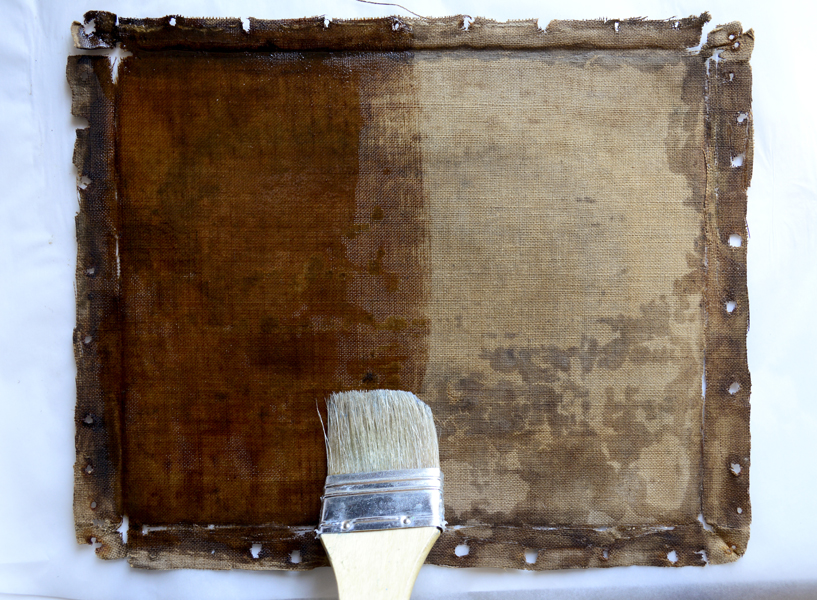
Once the front was properly stabilized, the tacking margins and blind cleavage could be addressed. Warm, dilute adhesive was passed through the reverse and all of the tears on the tacking margins were mended. These are images of the reverse, during mending of the tacking margins and impregnation.
Following the stabilization of the paint layers, the aesthetic work and loss compensation could take place. First,the painting was edge-lined (not pictured here) and restretched onto its original stretcher.
Cleaning involved removing the oily stain along the right edge and scattered dark marks. All excess adhesive was removed from the surface immediately surrounding the losses.
Detail of the stain along the right edge, before treatment.
During the removal of excess adhesive from the surface of the painting.
During treatment photograph of the toned wax fills, before inpainting and varnishing.
The losses were filled with a toned wax/resin mixture and were slightly textured to help imitate the appearance of painted canvas. Before inpainting, a working varnish was applied in order to resaturate the colors.
A mineral spirit solution was used to resaturate the surface locally and reveal the color change and general improvement to the surface that the varnish will impart.
While the inpainting process was probably the most lengthy portion of the treatment, it was the most satisfying. All inpainting was carried out using conservation grade materials that remain reversible over time. This allows another conservator to remove the inpainting during future treatment, if need be. Here is just a detail of the surface before and after treatment.


